If you want to skip the following instructions and just watch the tutorial as a flash movie, go to: http://www.scripps.edu/hr/training/forms_lines.html
.
My sample document is a partially completed Word 2003 document with some form fields pictured below.

Unfinished Word form
We are going to add a text field form with a line under it by Email Address.
- Click View in the Menu
- Click Toolbars
- Click Forms on the drop-down menu from Toolbars
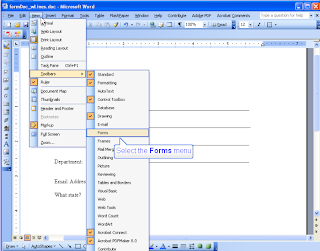
- The Forms toolbar appears

- Place your cursor where you want your form field and click once.
- Then go up to the Forms toolbar and click the Text Form Field button (first button [ab] in the Forms toolbar).
- A text form field appears shaded in – you can clear the grey color by clicking on the orange button with an “a” on it on the Forms toolbar.
- Click the Frame button on the Forms toolbar.
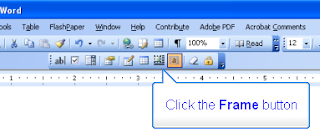
- The text form field is now enclosed in a frame and might have jumped to a different location on your document
- Drag it back into place
- Size it by clicking and dragging the border handles that appear as small squares around the frame
- After it is the size you want, right click the frame
.

.
- Select Borders and Shading… from the drop-down menu
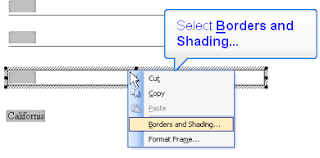
.
- The Borders tab should be open by default when the Borders and Shading dialog window opens
- Click the Top Border button in the Preview section (on the right) in the Borders tab to get rid of it. Next Click the Left and Right Border buttons to get rid of that part of the border.
.
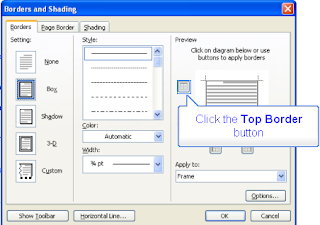
- Now the Preview window should display the bottom of the frame only.
- Click OK to close the Borders and Shading window.
- The remaining frame line will be the line under the text field form.
- Click away from the frame to deselect it.
.
.
. - The text field form now has a line under it that will stay with the form.
.

- Finally to activate the form fields you need to protect the document: by selecting Tools on the menu, then Protect Document. In the Protect Document task pane under 2. Editing Restrictions, check “Allow only this type of editing in the document;” and select Filling in forms from the drop-down. Then click the “Yes, Start Enforcing Protection” button and choose a password if you want one. If you don’t want a password, just click OK.
.
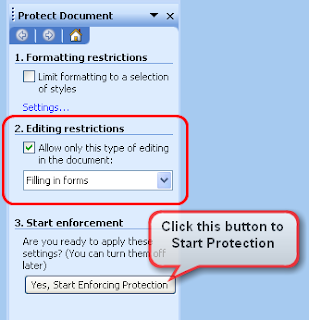
Protect Document Task Pane that will pop up on the right side of your document.
Of course there are other settings from which to choose in the Protect Document task pane but your form could be ready to distribute as is.
A good review of this tutorial is to watch the movie if you haven't already: http://www.scripps.edu/hr/training/forms_lines.html

1 comment:
thanks for this post! i've found the best way to follow up to emails is using Outlook Track-It. It's a small toolbar, you can flag emails to remind yourself.
Post a Comment